Anyone can design 3D models for free with Tinkercad, and you can start with no prior knowledge of computer-aided design or CAD software with their Learning Center. Bring your idea into Tinkercad and start piecing together geometric shapes to construct a digital model.
If you need to replicate a broken piece to make a repair, bring the piece into the Library and use the digital calipers in the Creative Space to determine the exact measurements as you reconstruct it in Tinkercad. With their extensive shape library and the option to import scalable vector graphics, the 3D design possibilities are limitless. At the Library, you can use the iMac to trace or draw vector graphics by hand in Adobe Illustrator with the Wacom tablet and import your SVG files into the Tinkercad workplane.
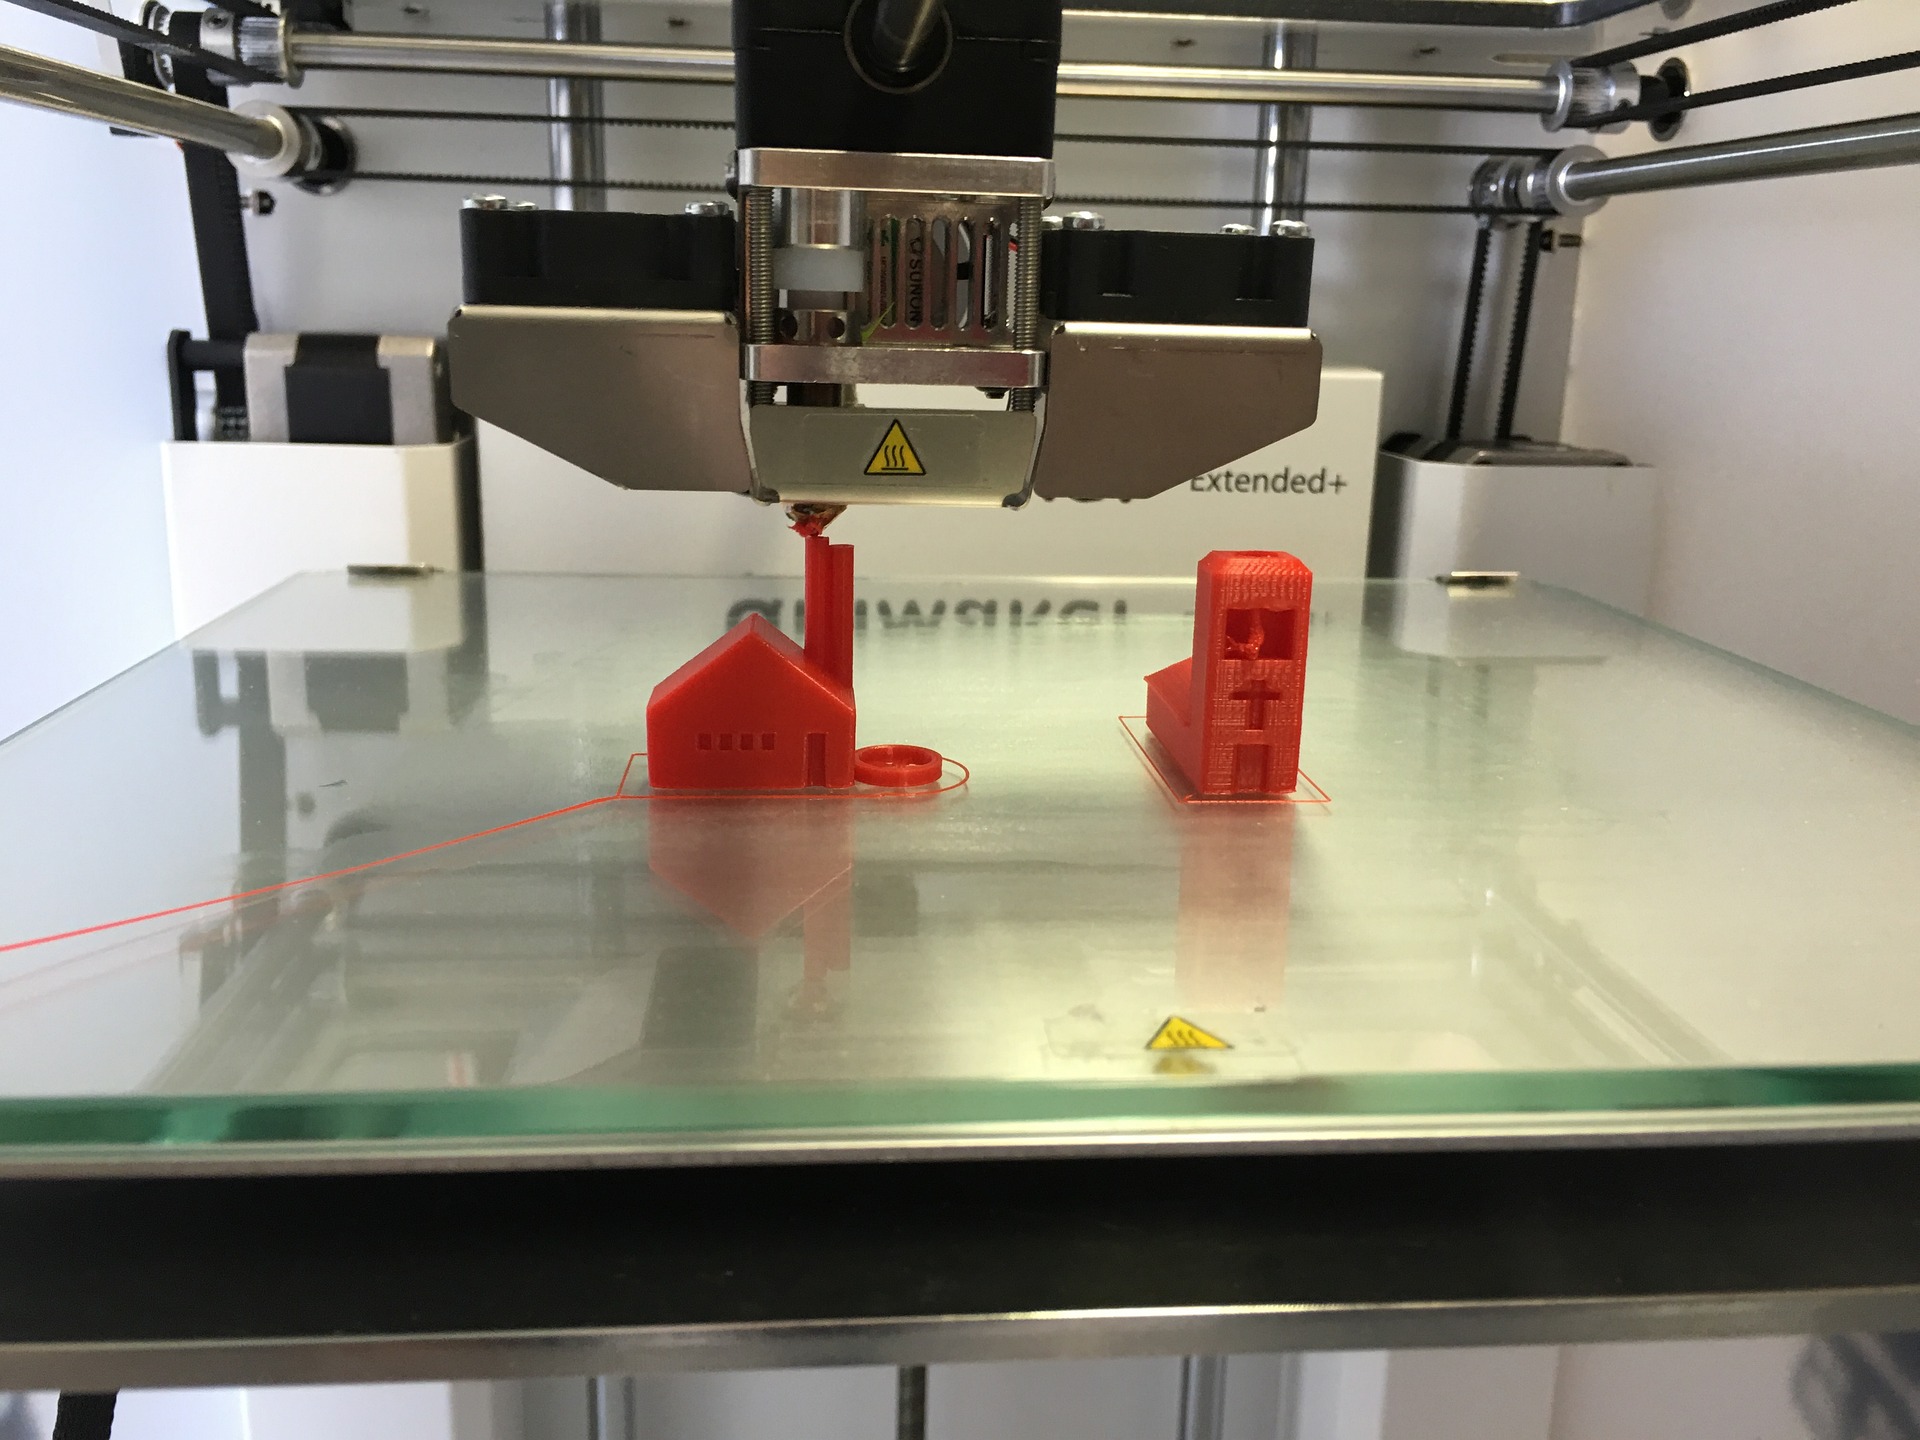
After you create your digital 3D design, you can turn the digital model into a physical object by slicing and printing it. To slice your digital model, you need to use software that adjusts the printer settings and creates a set of instructions for the machine to print your model layer by layer, called a G-Code file. At the library, we use the Dremel Digilab Slicer to adjust settings like density, temperature, quality, and support placement for overhangs. Then, you are ready to 3D print the file.
With 3D designing, you often need to try and troubleshoot until you get your desired outcome. The filament may become knotted around the spool and pull on the extruder, shifting the layers as it prints, or the support placement can be problematic. So, although it is a process of trial and error, if you keep trying, you can eventually hold the object you envisioned in your hand!
Want more assistance with creating 3D designs? Register here to join us on July 11 at 6:00 p.m. to meet with other makers and discuss your ideas! Or make an appointment when it is convenient for you to meet with our Tech Help staff.